Sending a secure email in Outlook is essential for protecting sensitive information and maintaining privacy in digital communication. In this introduction, we will guide you through the process of sending encrypted emails using Outlook, ensuring that your messages remain confidential and accessible only to intended recipients.
To begin, you will need to obtain and install a digital certificate, which serves as a unique identifier and encrypts your emails. Next, we will walk you through configuring your Outlook settings to enable encryption and adjust security options according to your preferences.
Once your Outlook is set up for secure email, we will demonstrate how to compose an encrypted email, including the importance of sharing your public key with recipients to allow them to decrypt and read your message. Finally, we will briefly explain the underlying technical aspects of encryption, such as public-key cryptography and digital signatures, to provide a deeper understanding of the security measures in place.
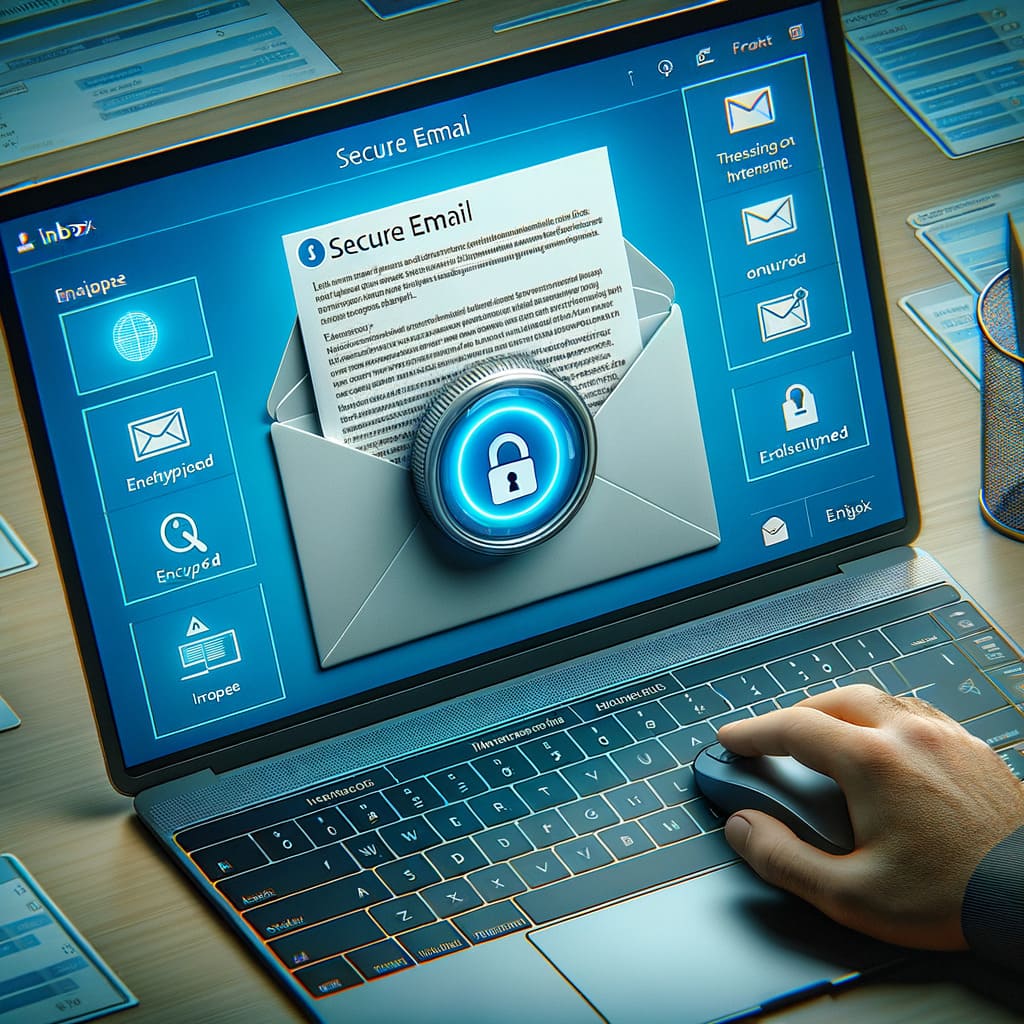
5 steps with details on how to send a secure email in Outlook:
Obtain a digital certificate
- Purchase a digital certificate from a trusted Certificate Authority (CA) or obtain one from your organization.
- The certificate will include a public key and a private key, which are essential for encrypting and decrypting emails.
- Install the certificate on your computer and ensure that Outlook recognizes it.
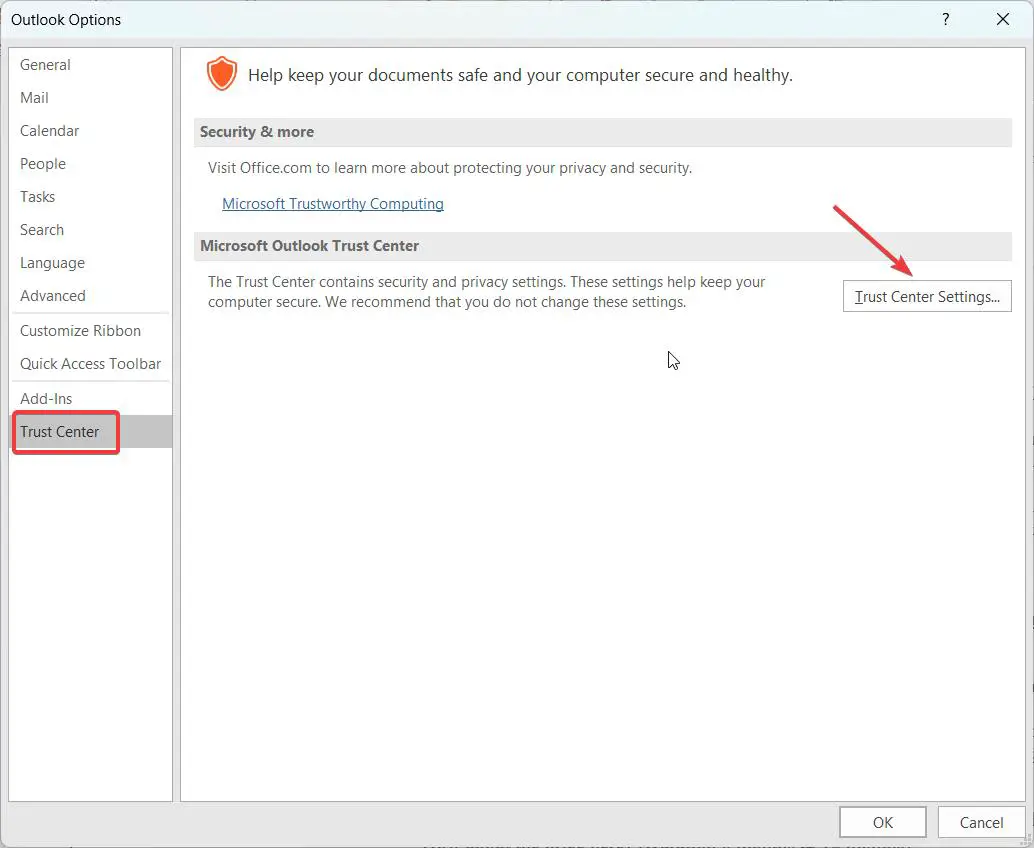
Configure Outlook settings
- In Outlook, go to File > Options > Trust Center > Trust Center Settings.
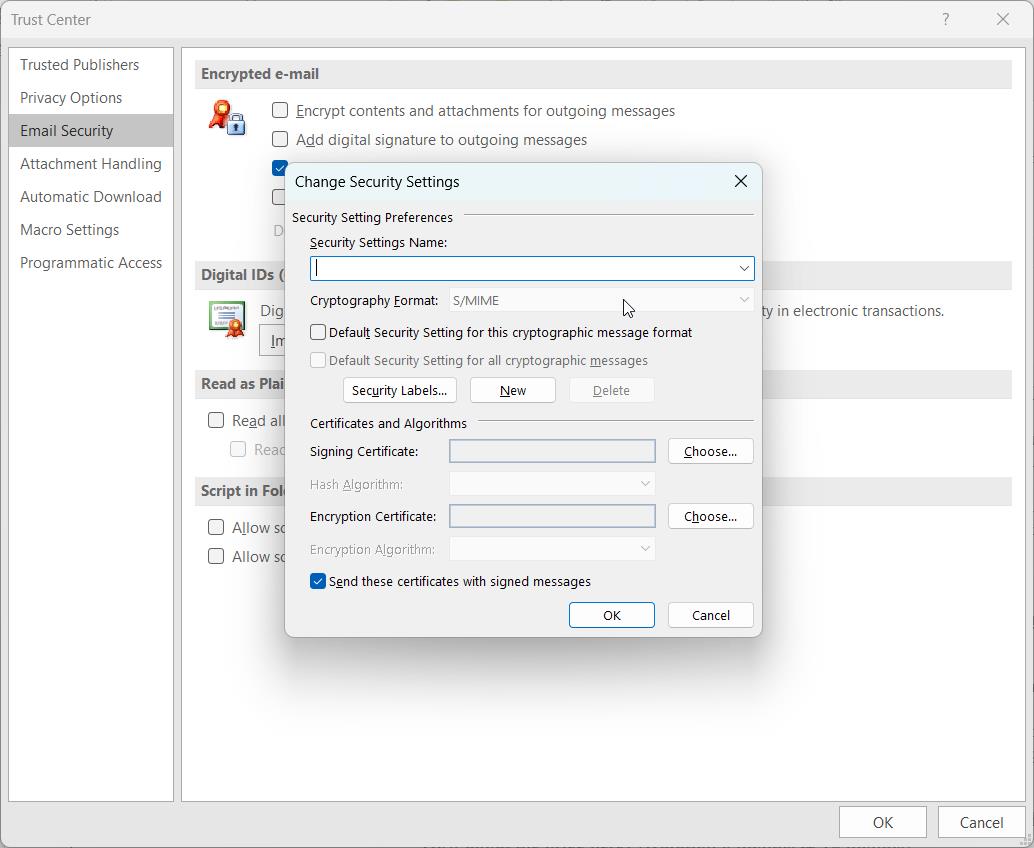
- Click on “Email Security” and under “Encrypted email,” click “Settings.”
- Enable the option to encrypt outgoing messages and choose the encryption algorithm (e.g., AES, 3DES).
- Select your digital certificate from the list of available certificates.
Obtain the recipient’s public key
- To send an encrypted email, you need the recipient’s public key.
- Ask the recipient to send you their public key or obtain it from a trusted source, such as a company directory or public key server.
- Import the recipient’s public key into Outlook by going to File > Options > Trust Center > Trust Center Settings > Email Security > Import/Export.
Compose and send the secure email
- Create a new email message in Outlook and compose your content as usual.
- Before sending, click on “Options” in the top menu and then click “Encrypt” to enable encryption for the message.
- If prompted, select the recipient’s public key to encrypt the email.
- Send the email as you normally would.
Verify and troubleshoot
- After sending the encrypted email, inform the recipient that they will need to use their private key to decrypt and read the message.
- If the recipient experiences issues decrypting the email, double-check that you have used the correct public key and that the recipient has the corresponding private key.
- In case of any issues, work with the recipient to resolve the problem, such as resending the email with the correct public key or assisting them in importing your public key.
By following these steps, you can send secure emails in Outlook, ensuring that your sensitive information remains protected and accessible only to the intended recipients.


